Part 1: Installing Laravel and React using Docker
Welcome to the first part of our series where we will create a user management system using Laravel, React, and Docker! In this post, we will focus on the initial setup of our development environment, installing Laravel and React inside a Docker container. Let’s get started! Check repository.
Prerequisites
Before we begin with the installation of Laravel and React using Docker, you need to have Docker installed on your machine. We will show you how to install Docker Desktop, a user-friendly tool for managing your Docker containers.
Step 1: Downloading Docker Desktop
1. Visit the official Docker website.
2. Click on the “Download Docker Desktop” button.
3. Choose the appropriate version for your operating system (Windows, macOS, or Linux).
Step 2: Installing Docker Desktop
1. After downloading, open the installer and follow the on-screen instructions.
For Windows: The installer will prompt you to enable WSL 2 (Windows Subsystem for Linux 2) integration, which is recommended for better performance.
For macOS: Drag the Docker icon to the Applications folder.
For Linux: Follow the specific installation instructions for your distribution (this usually involves adding the Docker repository and installing via the package manager).
2. After installation, open Docker Desktop. It may request additional permissions for setup and execution.
3. Verify the installation by opening a terminal and running the command:
docker --version
This command should display the Docker version installed, confirming that Docker is ready to use.
With Docker installed and running, we are ready to proceed with setting up our Laravel and React development environment.
Step 1: Creating the Laravel Project with Docker
First, let’s create a new Laravel project inside a Docker container. Open the terminal and run the following command:
curl -s “https://laravel.build/crud-app” | bash
This command downloads and sets up a new Laravel project named `crud-app` using Docker.
Step 2: Starting the Project with Docker
Now, let’s start the Docker environment for Laravel. In the terminal, navigate to the newly created project directory and run:
./vendor/bin/sail up
This command starts the Docker containers needed to run the Laravel project. From here, the Laravel project will be accessible at `http://localhost`.

Step 3: Preparing the Database
With the Docker environment running, let’s prepare the database by running the initial Laravel migrations. Still in the project directory, run:
./vendor/bin/sail artisan migrate
This command applies all database migrations, creating the necessary tables to start working with Laravel.

Step 4: Creating the React Project
Now that the backend is set up, let’s create the frontend using React. In the root directory of the Laravel project, create a folder named `react` and navigate to it. Then, run the command to create the React project:
npm create vite
Follow the instructions to set up your new React project, choosing a name for the project and selecting React as the library to use.


Step 5: Installing React Dependencies
Inside the newly created React project directory, install the necessary dependencies with the following command:
npm install
Step 6: Running the React Application
Finally, to run the React development server, execute:
npm run dev
This will start the development server and your React application will be accessible at the address indicated in the terminal, usually `http://localhost:5173`.


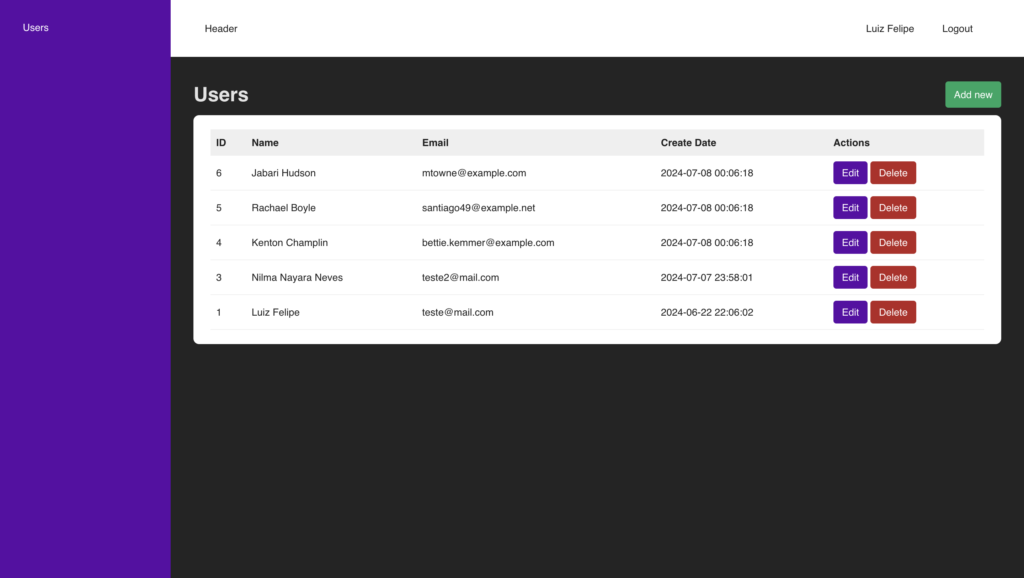
That’s it! Now you have a Laravel project running on Docker and a React project set up inside the `react` directory of the Laravel project, ready for development. In the next part of this series, we will start integrating these two environments, creating an API in Laravel and connecting the React frontend. Stay tuned!
If you have any questions or suggestions, leave them in the comments below. See you next time!